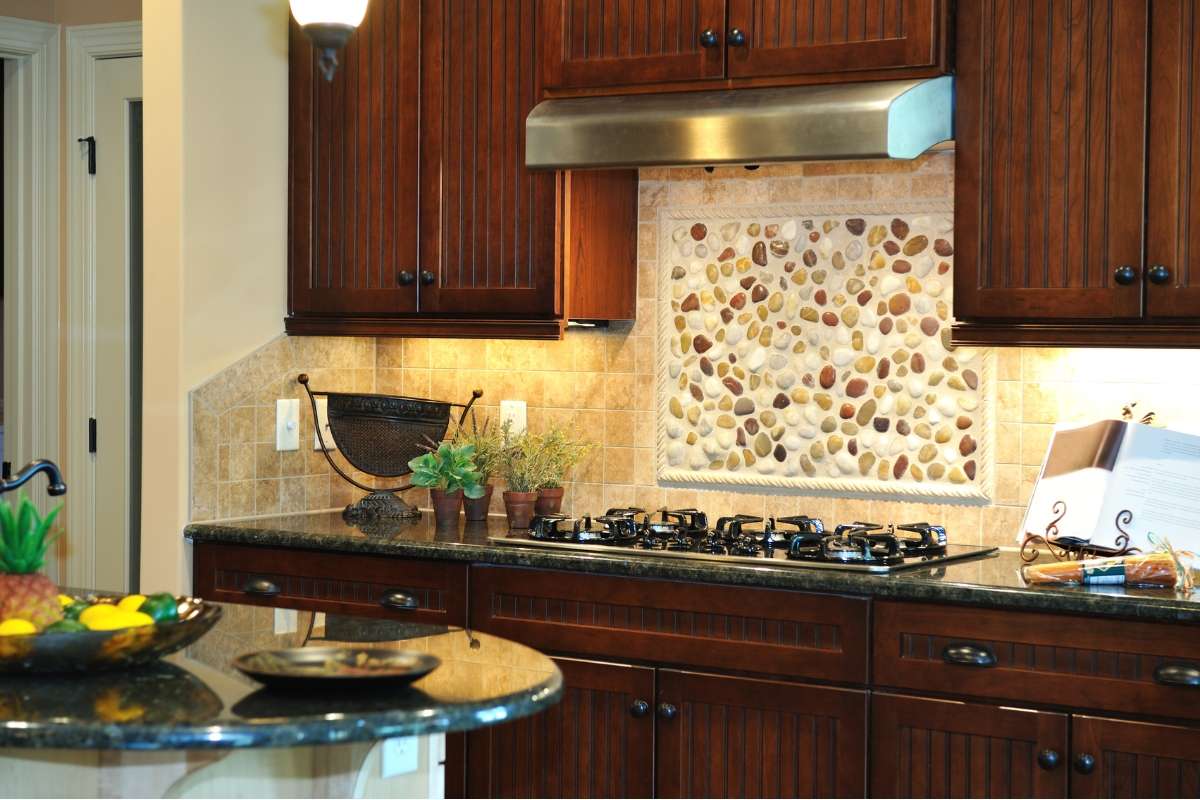
If you’ve been wondering how to install kitchen backsplash, you’re in the right place. Installing kitchen backsplash is an affordable way to give your kitchen a fresh look. Not only will it spruce up the appearance of your kitchen, it will also protect your wall from potential water damage.
The kitchen is the heart of the home and a backsplash is the perfect way to add a vibrant and stylish touch. Installing backsplash in your kitchen is surprisingly easy and quick, but can be a daunting task if you’ve never done it before.
With the right materials and some simple steps, you can have your dream backsplash in no time! Whether you are a novice DIYer or a seasoned home improvement pro, this guide will provide you with all the knowledge you need on how to install kitchen backsplash.
Preparation for Installation - How To Install Kitchen Backsplash
Preparation for installation is key to achieving a successful kitchen backsplash installation. It's best to measure the area where the backsplash will be installed to ensure accurate tile placement. Measure the area horizontally and vertically, as this will help you determine how much material will be needed to cover the given space.
For instance, if your backsplash area measures 3 feet across and 2 feet up the wall, then purchasing enough materials to cover 6 square feet will be necessary.
Finally, make sure to clean the wall surface thoroughly. Removing any existing grease and grime will help the tile adhere more properly when installed. Also, it is highly recommended to have a level handy to ensure the tile placement is even and straight. Once your wall is clean and the area is measured, then you are ready to begin installing the kitchen backsplash.
Choosing the Right Material
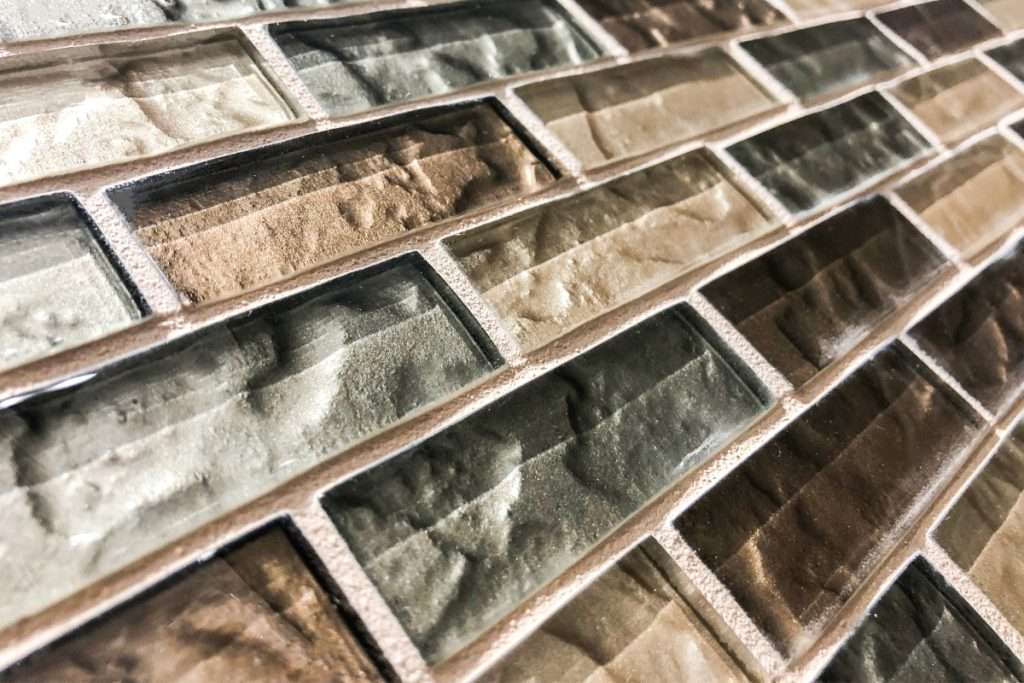
While there are many options, research the best materials for your kitchen and the type of backsplash you plan to install. You need to consider cost, durability, maintenance, and how the material will match the overall look of your kitchen.
Tile is one of the most popular materials for backsplashes. It's highly durable and easy to clean. You can find tiles in many textures, colors, and sizes to match any kitchen aesthetic. You should note that the grout between tiles will require regular cleaning and maintenance to keep its original look.
Another option is stainless steel or metal. This material adds an industrial or modern look to your kitchen. It's also resistant to heat and moisture, making it a good option for behind a range. However, stainless steel can be expensive, so keep that in mind when making your choice.
Wood is another option with a more traditional feel. It adds warmth to a kitchen backsplash, especially if you choose lighter stained wood. Reclaimed wood is a popular option for kitchen backsplashes. However, wood does require more maintenance than other materials and is not ideal for moisture-heavy areas.
Regardless of the material used for your kitchen backsplash, make sure to purchase additional material for future repairs. Having extra material on hand will ensure that you don't have to go back to the store to match the old tile, grout, or wood if you ever need to make repairs. By researching and purchasing the right material, you can be well on your way toward installing a beautiful kitchen backsplash.
Measuring and Cutting the Material
Accurately measuring and cutting the material for your kitchen backsplash is a key step when it comes to installation. First off, start off by measuring the length and width of the wall that you are going to be installing the backsplash on.
Once you have the measurements, take into account any outlets and make the proper adjustments. When the material is delivered to you, you will need a tape measure and a level to ensure that the material is cut accurately.
When it comes to cutting, there are a few tools you will need. If you are cutting tile, you'll need a tile cutter that makes precise straight cuts. If you are cutting stone or metal backsplash, you'll need a wet saw or special shears.
Additionally, if you are dealing with composite material, you will need a hammer and chisel to make those cuts. As you are making the cuts, be sure that each piece is the right size by measuring it against the wall.
Finally, use sandpaper to smooth the edges of the material before you install it. This will help ensure a more professional-looking finish. Make sure that all cuts are clean and consistent so that the pieces fit together seamlessly.
Applying Adhesive
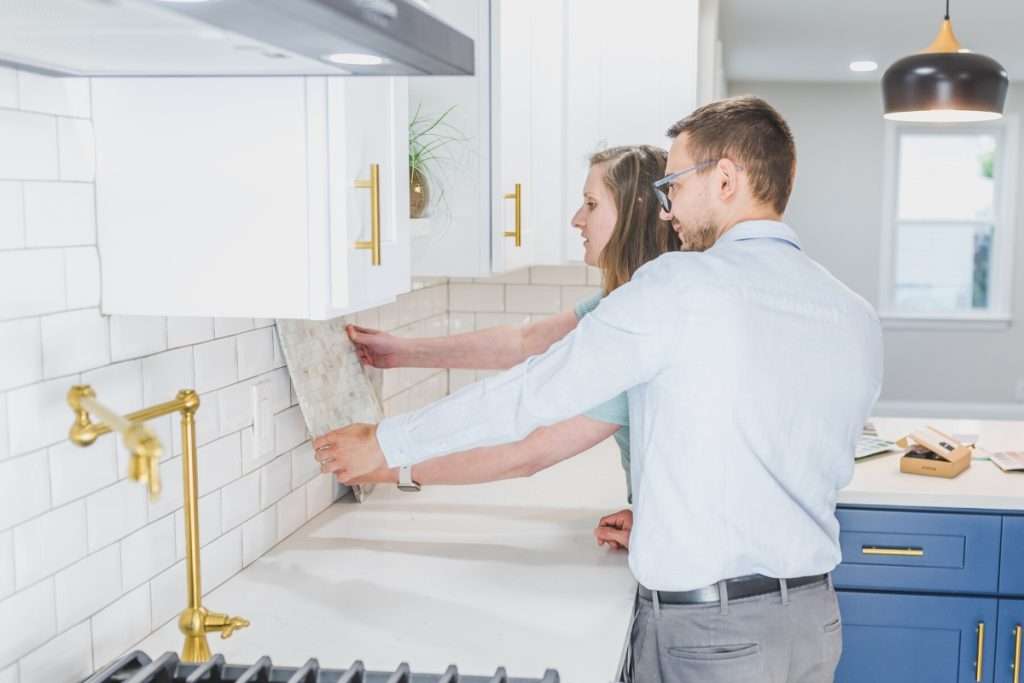
Installing a kitchen backsplash is a great way to add style and protection to the walls in your kitchen. Before you can get started on the project, however, you'll need to be sure you have everything you need. Applying the adhesive correctly is the first step in the process and the one that will help ensure a successful finished product.
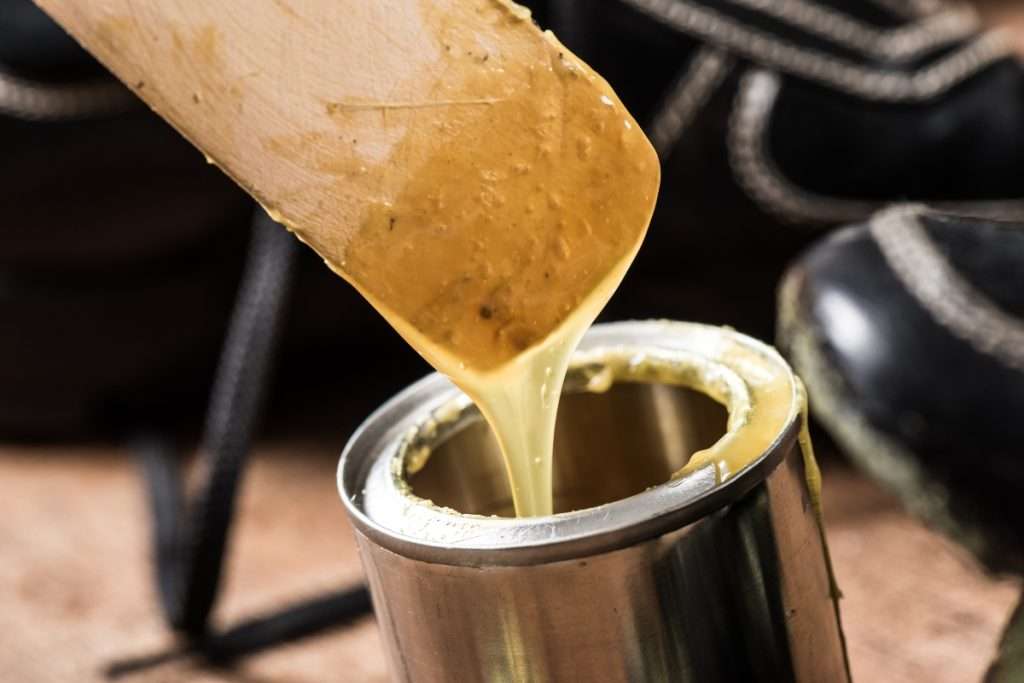
First, make sure to choose the right type of adhesive for your project. For example, if you plan on installing a tile kitchen backsplash, you'll want to use thinset mortar as your adhesive.
Thinset is an ideal choice as it sticks to surfaces well and also provides a waterproof seal. If you are using a different material, such as decorative vinyl panels, then check the manufacturer's instructions to find out what adhesive they recommend.
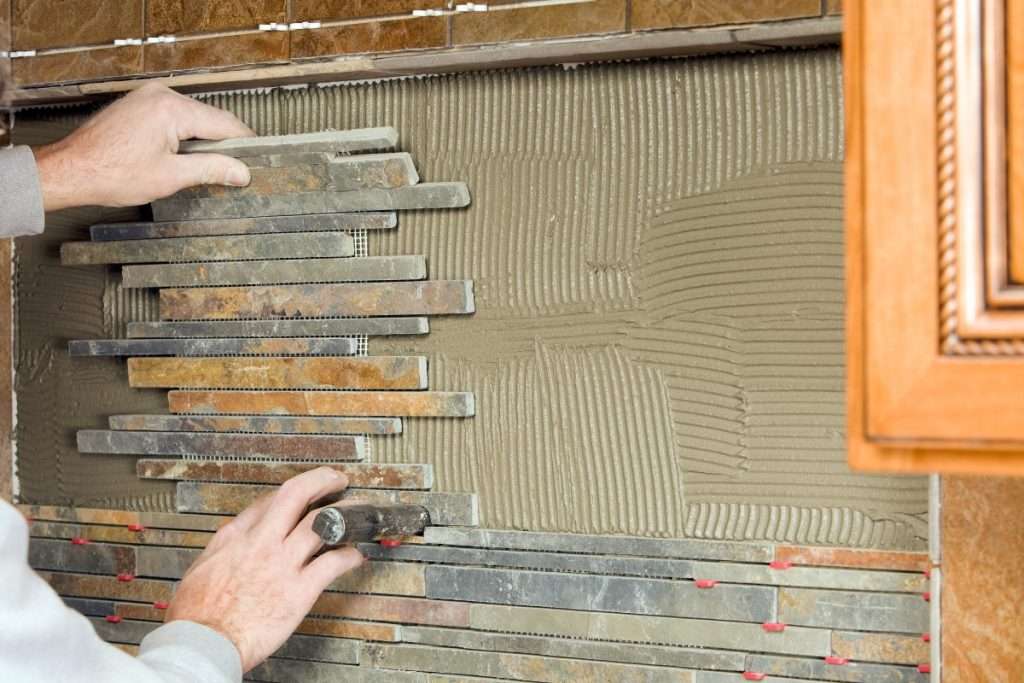
Once you have the right adhesive, you will need to apply it to the wall. Start at one end of the wall and work your way down, applying the adhesive in small sections.
Using a notched trowel, spread the adhesive in even coats and press it into the wall so it sticks in place. Make sure each section is completely coated with adhesive and that there are no gaps between coats.
Finally, once you have applied the adhesive, allow it to set for 24-48 hours before beginning the next step of the installation process.
This time allows for the adhesive to fully bond with the wall, ensuring a secure hold for your kitchen backsplash. Once the adhesive has cured, you'll be ready to begin laying tiles or other materials to complete the project.
Securing Your Backsplash
To ensure that your backsplash stays secure, you’ll need to take the right steps to secure it.
For most installations, you’ll need a few basic tools: a drill, screwdriver, level, and pencil. Additionally, you may choose to use a hammer and other specialized tools to help make installation easier. As for materials, you’ll need wall anchors, screws, caulk, adhesive, and tiles.
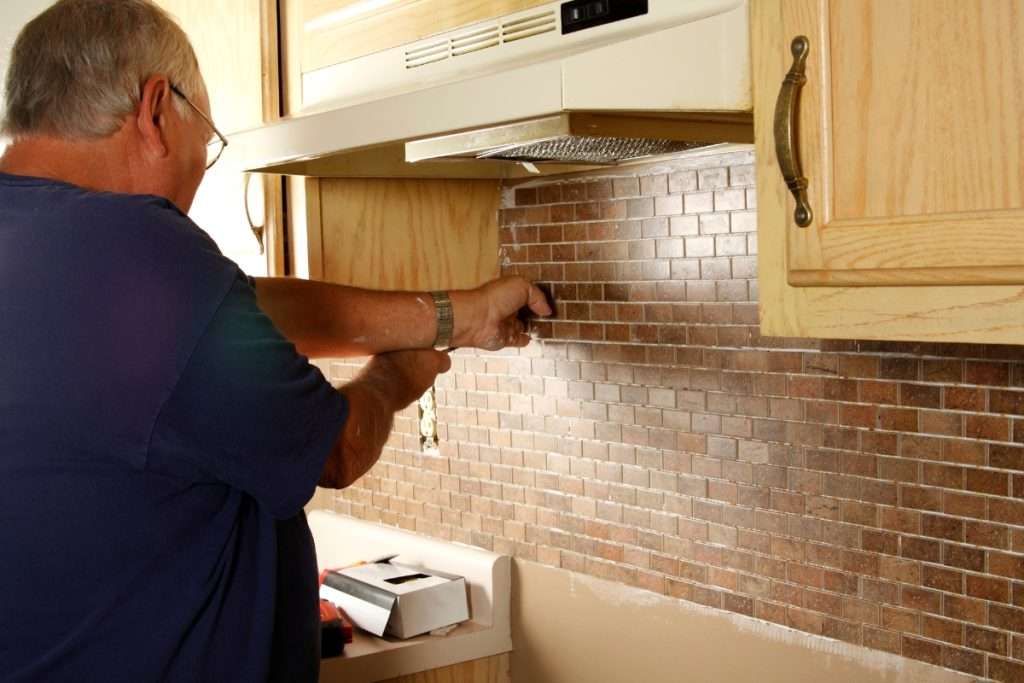
When it comes to actually securing your backsplash, there are a few methods to consider. If you are attaching it directly to drywall, you will need to install wall anchors. To avoid damage to your walls, use the appropriate size wall anchors for your screws. Additionally, make sure that the wall anchors are flush against the wall before you insert the screws.
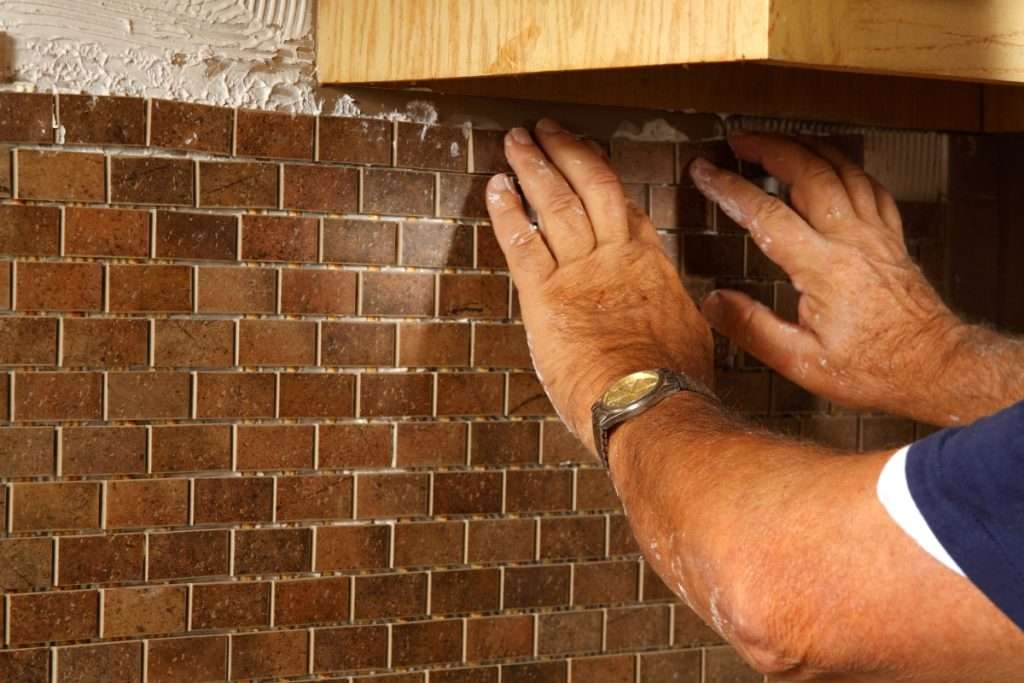
If you’re attaching your backsplash to tile, you can skip the wall anchors. Instead, use a construction-grade adhesive to securely attach the tile to your wall. Make sure that the adhesive is evenly spread on the back of the tile and fully seals it to the wall.
Once all of the tiles are attached to the wall, use caulk to seal the joints between the tiles. This will help to create a waterproof barrier and prevent any moisture or dirt from getting behind your backsplash. When applying the caulk, start at the bottom, working your way up, to make sure that it is applied evenly.
Finishing Touches
After all the materials have been prepped and the tiles are ready to go, it's almost time for the final touches. Before you call your kitchen backsplash project a success, these finishing touches will help ensure a professional appearance.
The grout between tiles needs to be sealed. This process is fairly quick, but it will help protect the grout from liquids and other variances in temperature over time. Start by cleaning off any excess grout that may have built up. Then wipe on a sealant using either a sponge or a brush. Make sure to get the sealant into all the nooks and crannies of the grout lines. After the sealant has been applied, remove any excess product with a damp cloth.
It is also important to caulk the edges of the backsplash. This will give it a seamless look and help seal the wall from moisture buildup. Begin by applying a quality caulk product to the edges as well as any corners or joints. Smooth out the caulk with a caulk smoother, making sure there are no bumps or ridges. Wipe down the surface with a damp sponge or rag to give it a clean finish.
The last step in how to install kitchen backsplash is the application of wall tile trim. Choose a trim product that matches the color and style of the tiles used. Cut off the trim to the desired length and press it firmly into the wall. The trim should fit snugly against the edges of the tile.
Conclusion
A kitchen backsplash is a great way to add a modern, stylish touch to your kitchen. Installing a backsplash is a relatively easy, DIY project that requires minimal tools and skills. As long as the area is properly measured, the right materials are chosen, and the correct process is followed, your kitchen backsplash will look great and last for years.
Now that you know how to install kitchen backsplash, you can put your newfound knowledge to use and bring your kitchen up-to-date with the latest trends. Following these steps will guarantee that your kitchen backsplash looks professional and elegant for years to come.
While installing a kitchen backsplash is something you can do yourself, it's best to rely on the services of a professional like Kitchen and Bath by Zeus.
Our team of professionals will work closely with you to make sure that you have all of the features that you want and need in the kitchen of your dreams.
Our kitchen remodeling services handle everything you need for your kitchen, from a kitchen backsplash installation to a full kitchen remodel. Give us a call at 404-602-2668 or schedule a free consultation and find out what we can do for you and your home today!