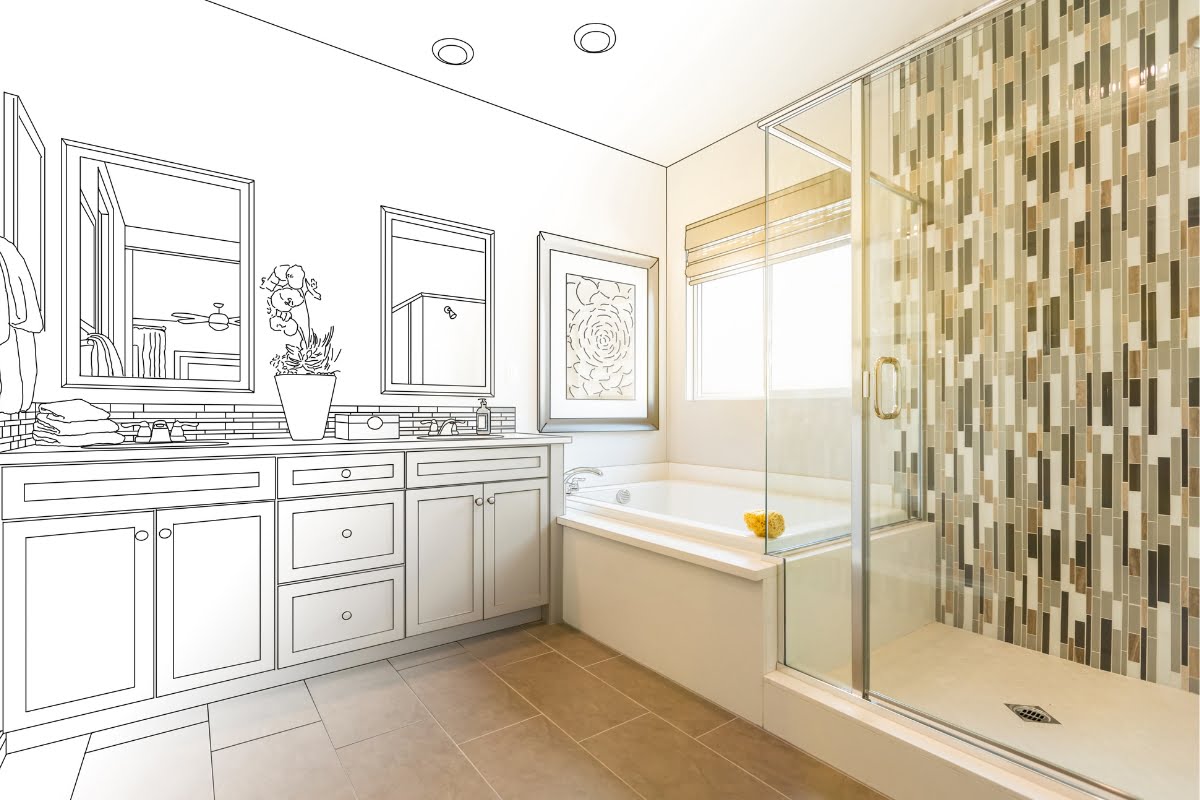
Transforming your bathroom can be a rewarding project that breathes new life into one of the most essential spaces in your home. With creative and budget DIY bathroom projects, you can achieve stunning results without breaking the bank.
From updating fixtures and adding stylish storage solutions to creating custom decor and implementing innovative design ideas, there are countless ways to personalize and enhance your bathroom. In this guide, we’ll explore a variety of bathroom DIY projects that are both practical and aesthetically pleasing.
Whether you’re a seasoned DIY enthusiast or a beginner looking for inspiration, get ready to transform your space with these creative and budget-friendly ideas that will elevate your bathroom’s functionality and style.
Tired of your Old Bathroom? Try These Bathroom DIY Projects for a Fresh Look
Revamp Your Bathroom Vanity with DIY Vanity Techniques
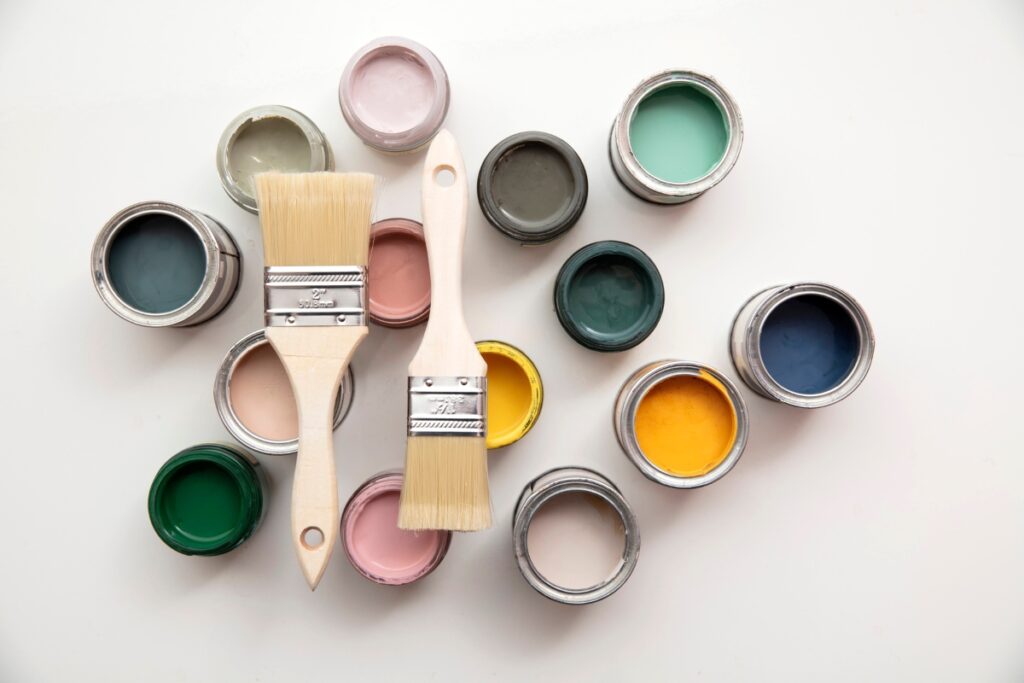
Your bathroom vanity is not just a functional piece of furniture; it can also be a statement piece that adds personality to your space. Instead of settling for a plain and boring vanity, why not give it a makeover with some creative paint techniques? With a few simple steps, you can transform a DIY vanity into a work of art.
Start by removing all the hardware and giving the surface a good cleaning. Sand down any rough spots or imperfections to create a smooth canvas for your paint. Once the surface is prepped, it’s time to get creative with colors and patterns.
One popular technique is ombre painting, where you gradually blend two or more colors together. This creates a stunning gradient effect that adds depth and visual interest to your vanity. Another option is stenciling, which allows you to add intricate designs or patterns to the surface of your vanity.
You can find a wide variety of stencils online or create your own using adhesive vinyl. Other add-ons can also help add visual interest to your vanity. An addition of a bathroom vanity light can really take your project to the next level.
If you’re feeling particularly adventurous, consider using chalkboard paint on the doors or drawers of your vanity. This allows you to write messages, draw doodles, or change up the design whenever you feel like it. It’s a fun and interactive way to personalize your space.
Once you’ve finished painting, don’t forget to seal the surface with a clear topcoat to protect your masterpiece from water damage and everyday wear and tear. Reattach the hardware, step back, and admire your bathroom vanity makeover.
Create a Spa-like Atmosphere with Homemade Bath Bombs
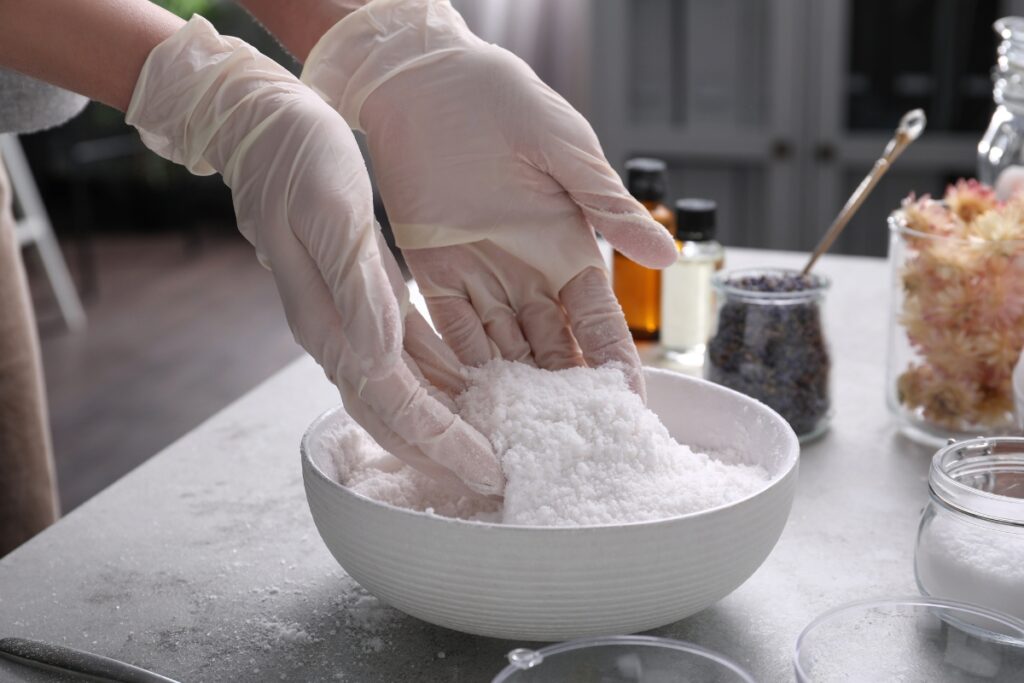
There’s nothing quite like sinking into a warm bath after a long day. And what better way to enhance that experience than by adding homemade bath bombs? These fizzy little wonders not only smell amazing but also make your bath feel like a luxurious spa retreat.
Making your own bath bombs is surprisingly easy and requires just a few simple ingredients. Start by combining baking soda, citric acid, and Epsom salt in a bowl. In a separate container, mix together your choice of essential oils, such as lavender or eucalyptus, with a carrier oil like almond or coconut oil. Slowly add the liquid mixture to the dry ingredients while stirring continuously.
Once everything is well combined, you can get creative with colors and shapes. Add a few drops of food coloring to achieve the desired hue and press the mixture into molds or shape them by hand. Let the bath bombs dry for at least 24 hours before using them.
When it’s time for some self-care, simply drop one of your homemade bath bombs into a warm tub and watch it fizz and release its delightful aroma. The soothing scents and nourishing ingredients will help you relax and unwind, turning your bathroom into a tranquil oasis.
Personalize Your Towel Hooks with Unique Designs
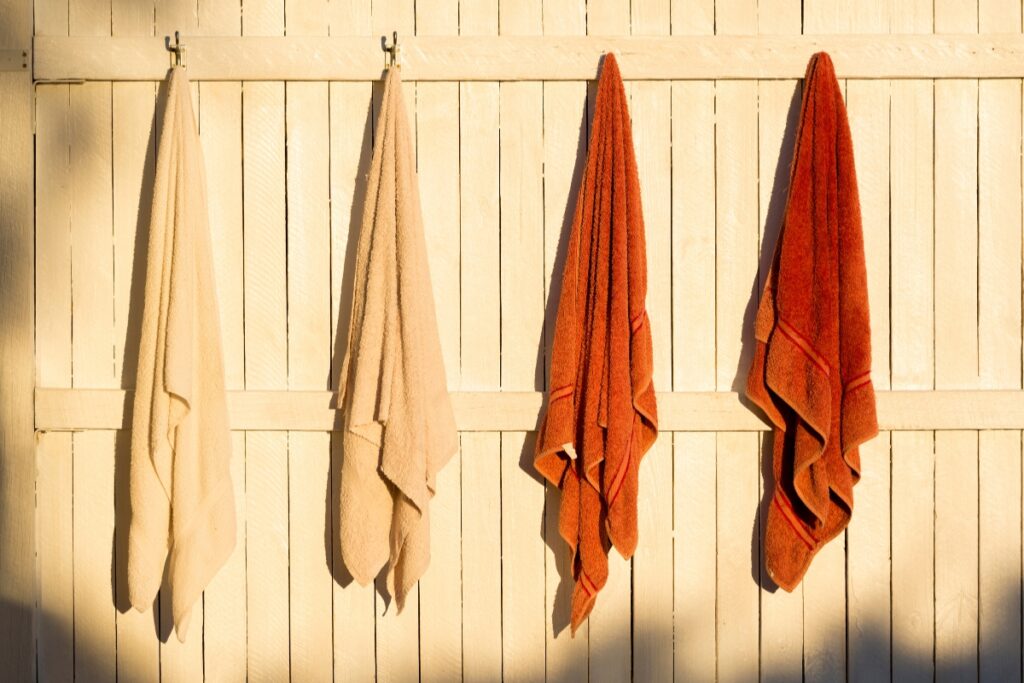
Towel hooks are often overlooked when it comes to bathroom décor, but they can actually be an opportunity to add some personality to your space. Instead of settling for plain hooks, why not personalize them with unique designs?
One idea is to use decorative knobs instead of traditional hooks. You can find an array of beautiful knobs in various shapes, colors, and materials at hardware stores or online. Simply remove the existing hooks from your wall and replace them with these eye-catching knobs.
If you prefer a more DIY approach, consider painting wooden blocks or small pieces of driftwood in vibrant colors or patterns that match your bathroom’s theme. Attach these customized pieces to the wall using screws or adhesive strips.
Another option is to repurpose old silverware into towel hooks. Bend the handles of forks or spoons into a hook shape and attach them to a wooden board or directly to the wall. This adds a touch of whimsy and vintage charm to your budget bathroom makeover.
By personalizing your towel hooks, you not only add visual interest to your space but also make it easier for guests to identify their towels. It’s a small detail that can make a big impact.
Upgrade Your Shower Curtain with DIY Stenciled Patterns
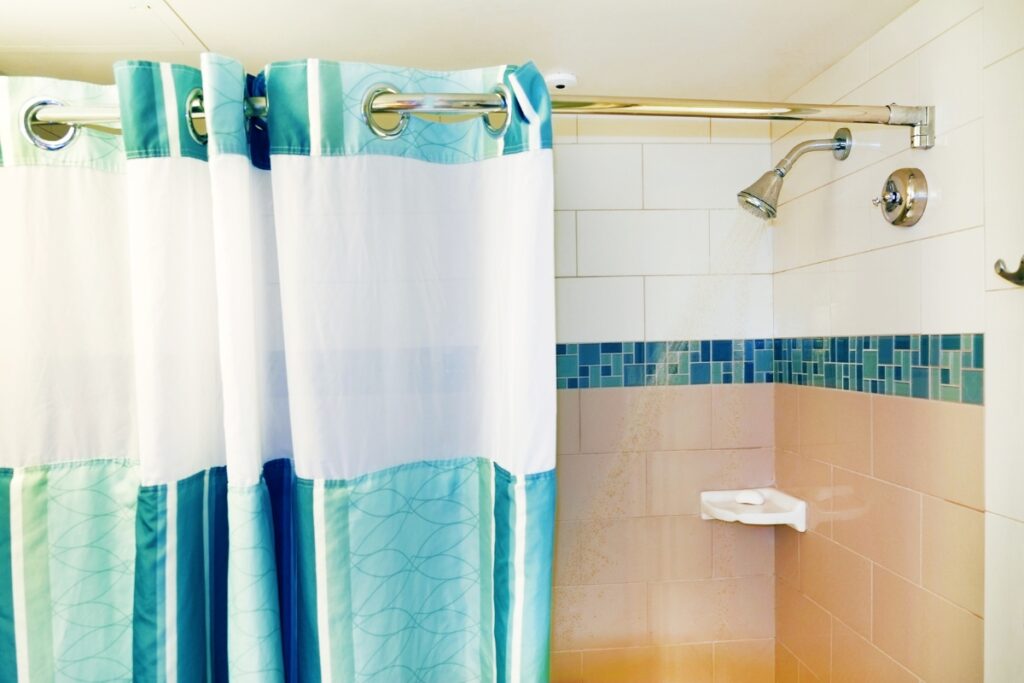
A shower curtain is an essential element in any bathroom, so why settle for a plain and boring one? With some stencils and fabric paint, you can upgrade your shower curtain with unique patterns that reflect your personal style.
Start by selecting a plain shower curtain in a color that complements your bathroom’s color scheme. Lay it flat on a protected surface and secure it with tape to prevent any movement while stenciling.
Choose stencils that match the aesthetic you want to achieve. Whether it’s geometric shapes, floral motifs, or abstract designs, there are countless options available online or at craft stores. Position the stencil on the curtain and use a foam brush or sponge to apply fabric paint evenly over the cut-out areas of the stencil.
Be sure to let each section dry before moving on to avoid smudging or bleeding of colors. Once you’ve completed the desired pattern, let the curtain dry completely before hanging it in your bathroom.
The result will be a one-of-a-kind shower curtain that adds personality and style to your space. Every time you step into your bathroom, you’ll be greeted by an artistic masterpiece that showcases your creativity.
Build Custom Shelving for Stylish and Budget Bathroom Storage Solutions
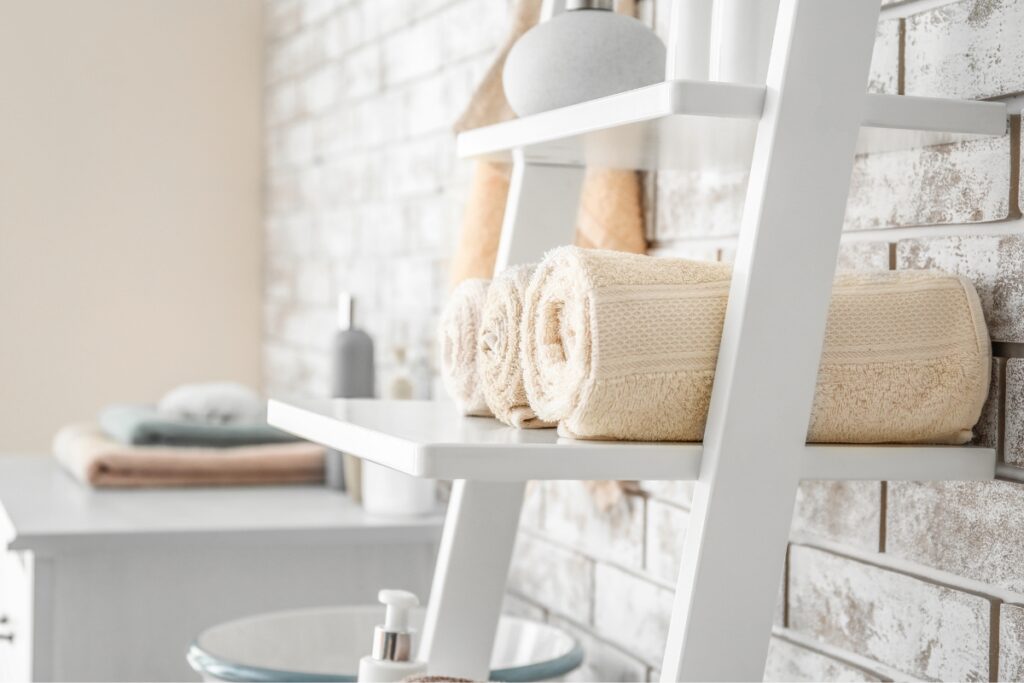
If you’re tired of cluttered countertops and overflowing cabinets, it’s time to consider building custom shelving for your bathroom. Not only does it provide additional storage space, but it also adds a stylish touch to your walls. This is especially beneficial for a small bathroom, as it helps maximize space.
Start by assessing the available wall space in your bathroom. Look for areas that are underutilized or could benefit from some extra storage. Once you’ve identified the perfect spot, measure the dimensions and determine how many shelves you want to install.
Next, gather your materials. You’ll need wooden boards or floating shelf brackets, screws, a drill, and a level. If you prefer a more rustic look, consider using reclaimed wood or repurposing old crates or pallets.
Begin by marking the desired height of each shelf on the wall using a pencil and level. Then, attach the brackets or mount the wooden boards according to your measurements. Make sure everything is securely fastened before placing items on the shelves.
Custom shelving not only provides practical storage solutions but also allows you to display decorative items such as plants, candles, or artwork. It’s an opportunity to showcase your personal style while keeping your bathroom organized and clutter-free.
Craft Handmade Soap Bars for a Luxurious Touch
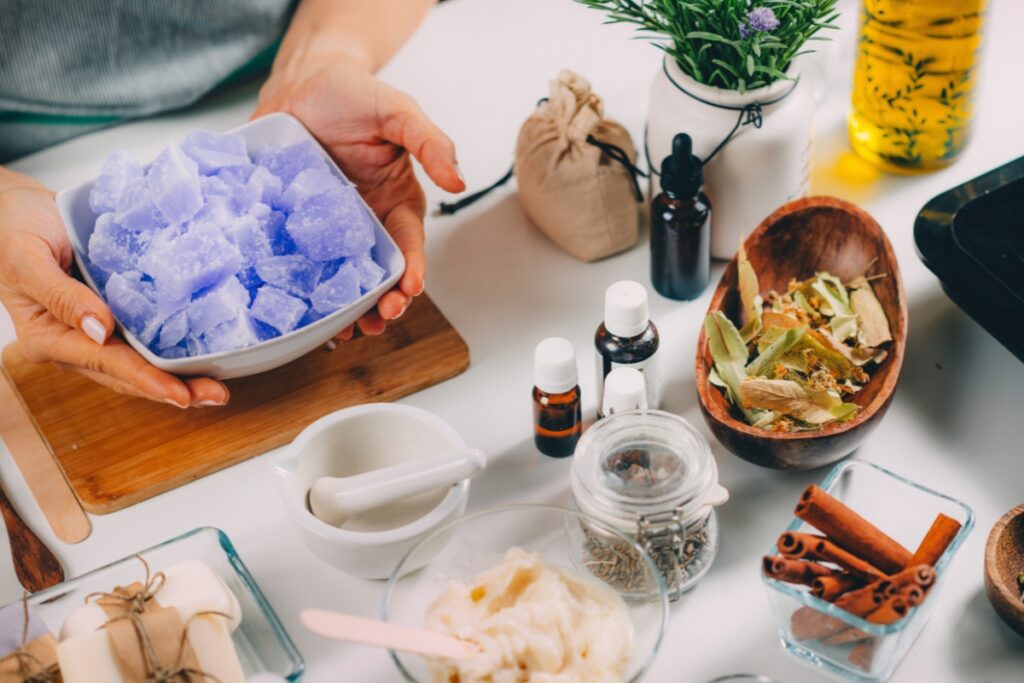
No bathroom is complete without soap bars, but why settle for store-bought options when you can craft your own? Making handmade soap bars allows you to choose natural ingredients and customize scents and designs according to your preferences.
To get started, gather all the necessary ingredients: melt-and-pour soap base (available at craft stores), essential oils of your choice, natural colorants like dried herbs or clays (optional), and any additional additives such as exfoliants or moisturizers.
Cut the soap base into small chunks and melt them in a microwave-safe container following the instructions on the packaging. Once melted, add a few drops of your chosen essential oils and any desired colorants or additives. Stir gently to combine everything.
Pour the mixture into soap molds and let it cool and harden for several hours or overnight. Once fully set, remove the soap bars from the molds and allow them to cure for a few weeks before using them. This ensures that they become harder and longer-lasting.
Not only will your handmade soap bars look beautiful in your bathroom, but they will also provide a luxurious touch to your daily bathing routine. The natural ingredients and custom scents will leave your skin feeling nourished and pampered.
Install Ambient Lighting for a Relaxing Nighttime Glow
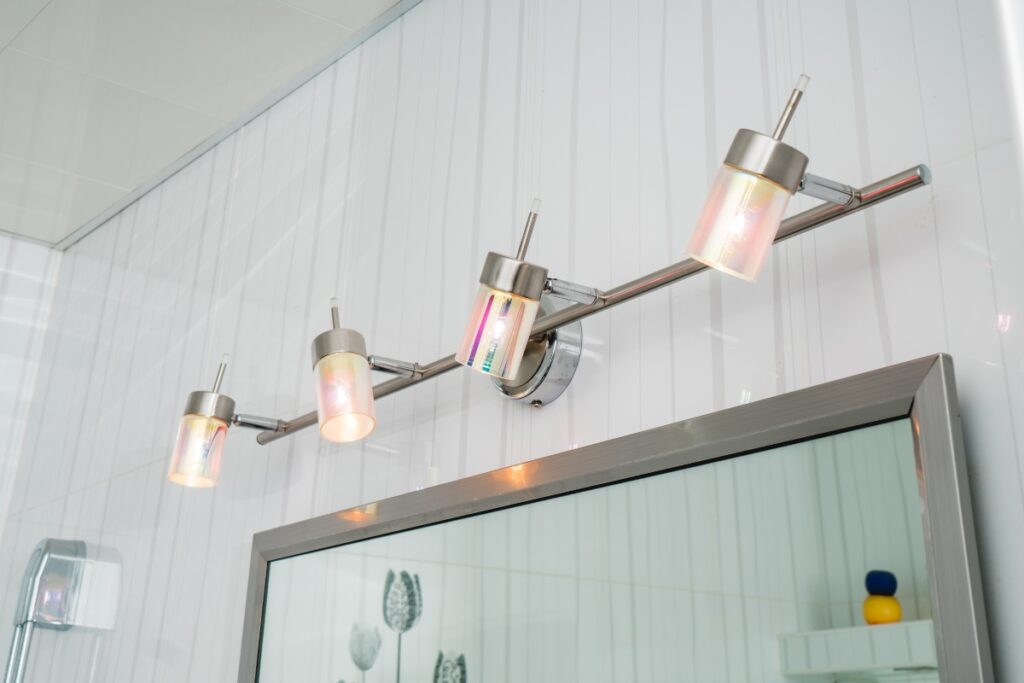
The right lighting can make all the difference in creating a relaxing atmosphere in your bathroom. Instead of relying solely on harsh overhead lights, consider installing ambient lighting that provides a soft and soothing glow.
One option is to install dimmer switches on existing light fixtures. This allows you to adjust the brightness according to your mood or time of day. Lowering the lights creates a calming ambiance perfect for unwinding after a long day.
If you’re feeling more adventurous, consider adding LED strip lights behind mirrors or along shelves for an ethereal glow. These lights come in various colors and can be easily installed using adhesive backing.
Another idea is to incorporate candles into your bathroom décor. Place them strategically around the room, such as on countertops or floating shelves, to create a warm and intimate atmosphere during bath time.
By incorporating ambient lighting into your bathroom, you’ll create an inviting space where you can relax and rejuvenate both body and mind.
Transform Your Mirror with a DIY Frame Upgrade
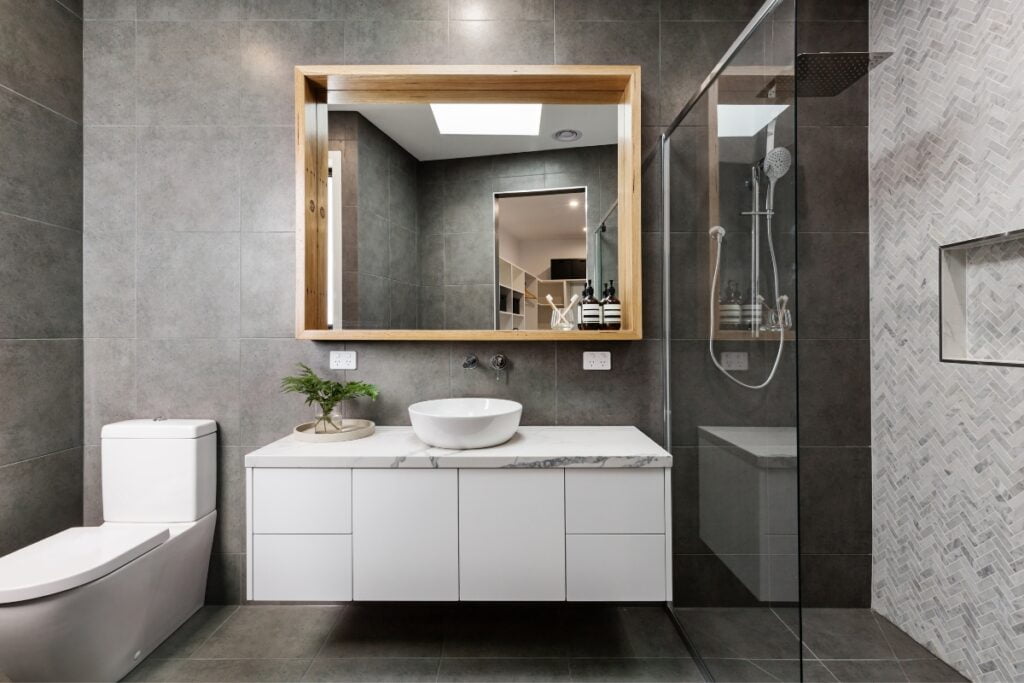
A mirror is not just a functional item; it can also serve as a decorative focal point in your bathroom. Instead of settling for a plain, frameless mirror, why not give it a DIY frame upgrade?
Start by measuring the dimensions of your mirror and determining the style you want to achieve. Whether it’s a rustic wooden frame, an elegant metallic border, or a mosaic of colorful tiles, there are endless possibilities to explore.
If you’re handy with tools, you can build a custom frame from scratch using wood or molding. Cut the pieces to size and join them together using nails or screws. Sand down any rough edges and paint or stain the frame to match your bathroom’s color scheme.
If woodworking is not your forte, consider using adhesive strips or tiles to create a frame around the mirror. These can be easily applied and removed without damaging the mirror’s surface.
Once your frame is ready, carefully attach it to the mirror using adhesive or brackets. Make sure it is securely fastened before stepping back and admiring your transformed reflection.
Add Greenery with DIY Hanging Planters
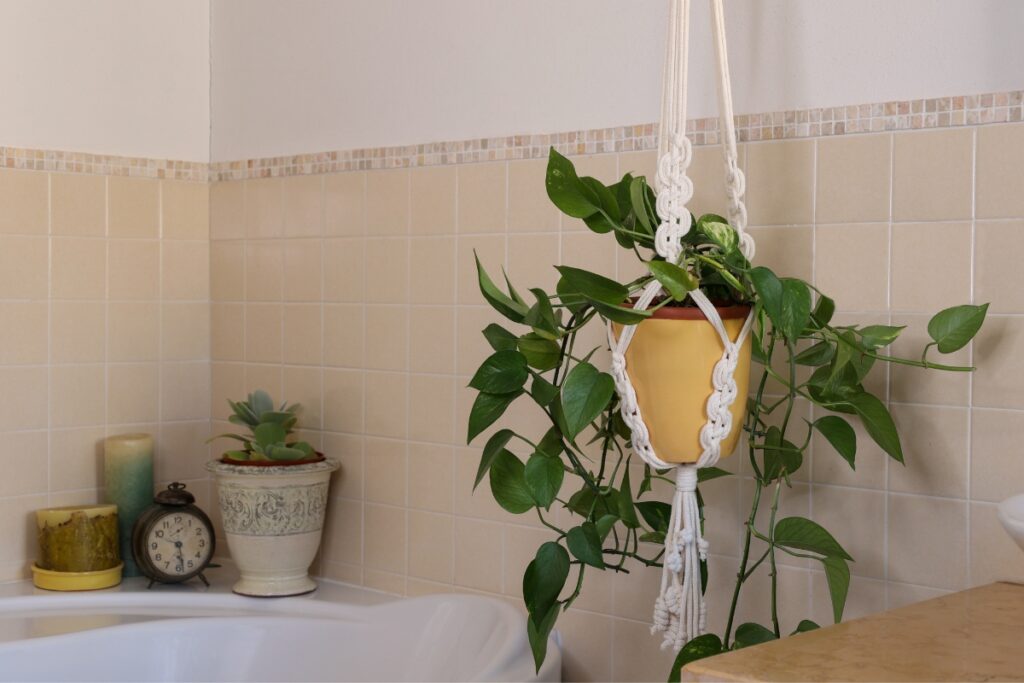
Bringing nature indoors is always a good idea, especially in bathrooms where plants thrive in the humid environment. By adding DIY hanging planters, you can introduce greenery into your space while saving valuable countertop or floor space.
Start by selecting plants that thrive in low-light and high-humidity conditions such as pothos, spider plants, or ferns. You can find these at local nurseries or online plant shops.
Next, gather materials for your hanging planters. Options include macrame hangers made from rope or twine, repurposed containers like mason jars or tin cans with holes punched into them for drainage, or even hanging baskets lined with moss.
Pot your chosen plants into their respective containers and hang them from hooks or brackets attached to the ceiling or wall. Be sure to position them near a window or under a skylight to provide them with enough light.
Not only do hanging planters add a touch of nature to your bathroom, but they also purify the air and create a calming atmosphere. It’s like having your own mini indoor garden.
Conclusion: Budget Bathroom Makeover Ideas with Personalized DIY Touches
With these creative and easy DIY bathroom ideas, you’ll soon have a bathroom that not only meets your functional needs but also reflects your personality and brings joy every time you step inside.
Transform your bathroom into a stunning oasis with creative DIY budget bathroom projects that reflect your personal style. For professional guidance and top-notch bathroom remodeling services, choose Kitchen and Bath by Zeus. Our team is here to help you bring your vision to life with expert craftsmanship and innovative designs. Contact us today at 404-602-2668 or fill out our online form for a project consultation. Let Kitchen and Bath by Zeus elevate your space with our exceptional bathroom renovation solutions.


