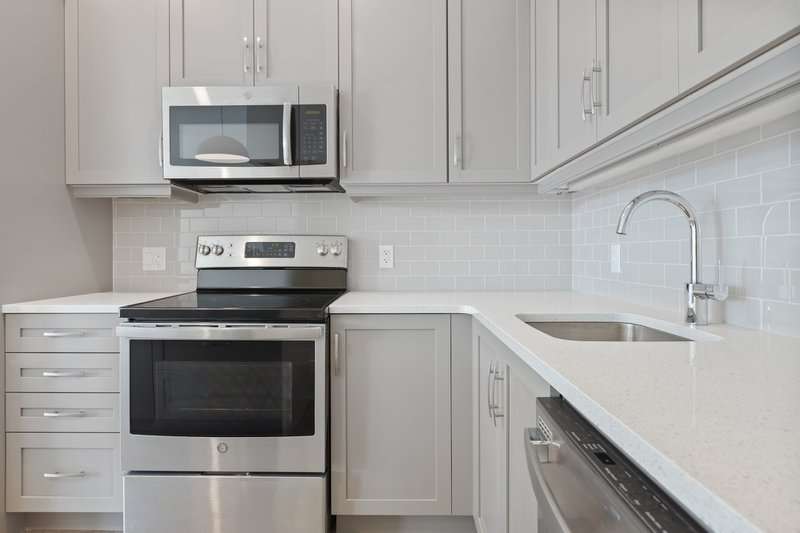
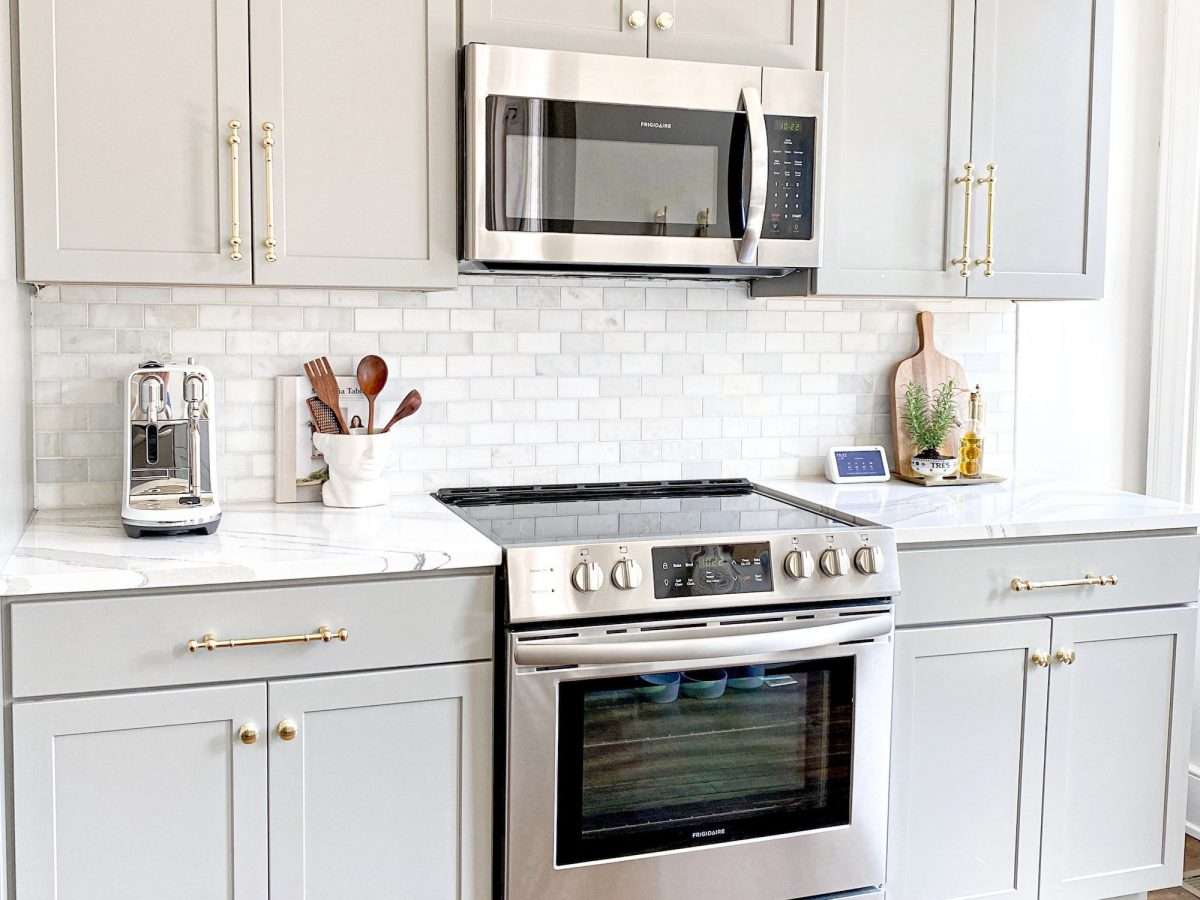
Microwaves have come a long way since they were first invented in 1945. Today, they are an indispensable kitchen appliance, helping to cook food quickly and evenly, or great for heating up food for a quick meal on-the-go. Its versatility and affordability have made it a recognizable fixture in many modern homes. The great thing about these appliances is that they are very easy to install, whether you’re looking to put them on your countertops, or are angling for more of an over the range microwave installation.
If you’re looking to replace your old microwave or install a new one in your kitchen, you’ve come to the right place. This guide will walk you through everything you need to know about installing an over the range microwave, from choosing the right model for your kitchen to ensuring it’s installed correctly.
How is an Over the Range Microwave Installation Different From a Regular One?

The main difference between an over-the-range microwave installation and a regular one is that, with an over-the-range microwave, you will need to make sure that the appliance is properly ventilated. This is because over-the-range microwaves also doubles as a form of ventilation for your cooking range. Since this acts as two appliances in one, it needs a little more care for its installation.
How Do You Choose an Over the Range Microwave?
When it comes to choosing an over the range microwave, there are a few things you’ll need to keep in mind. The first is the size of your kitchen. You’ll want to make sure that the microwave you choose is the right size for your space. The second thing you’ll need to consider is the kind of ventilation that you want. There are two main types of over the range microwaves: recirculating/ductless and ducted.
Recirculating microwaves don’t require external venting, as they have an internal fan that helps circulate the air. On the other hand, ducted microwaves must be vented through an external duct. Depending on the style and layout of your kitchen, one option would be better than the other, so make sure that you consider this carefully.
Speaking of style, you’ll also want to ensure that you end up with a microwave that works great for your kitchen and fits in well with the overall aesthetic of the space.
Another important third thing to consider is the wattage of the microwave. Higher-wattage microwaves will heat food faster, so if you do a lot of cooking, or your family likes to eat plenty of leftovers you may want to consider a higher-wattage option. However, remember that higher-wattage microwaves will also use more energy, so it’s important to find a balance that works for you.
Finally, you’ll want to consider the features you want in your microwave. Some standard features include sensors that automatically adjust cooking time based on the type of food that you’re heating, defrost settings, and pre-programmed recipes. Think about how you typically use a microwave or what you’d like to use it for and look up microwave models with the features you’re looking for.
Installing Your New Over-the-Range Microwave
Before you begin with the installation of your new microwave, there are a few things you’ll need to take into account. The first thing to take a look at is the space where you will expect your microwave to go.
- You’ll need to double-check that your chosen unit will fit comfortably in the space without blocking any cabinets or windows. Your kitchen’s layout should be designed for the flow of your cooking process and not have any features that work against it.
- If everything looks good so far, the next step is to remove your old microwave (if you have one) and get started on installing the new one. Many over the range microwaves come with a template that you can use to mark the appropriate holes for installation. If your microwave did not come with a template, you could easily create one yourself.
- Trace out the outline of the microwave onto a piece of cardboard or paper and cut it out. Once you have your template, use it to mark the four corner holes on the wall where you will be installing the microwave. Next, use a drill to create pilot holes at each of the marked locations.
- Now it’s time to install the mounting bracket that came with your microwave. The bracket will be mounted using two of the screws that you just drilled into the wall. With the help of a family member or friend, hold the bracket in place and use a drill to screw it into the wall. Once the bracket is secure, you can remove the template.
- Now it’s time to install the microwave itself. The ventilation of your new microwave is an essential feature, so this is where you want to start. You’ll want to make sure that the ductwork is connected correctly and that there are no leaks. If you’re not sure how to do this, it helps to consult with a professional. Start by attaching the exhaust vent to the back of the microwave.
- Once the venting is taken care of, you can start mounting the microwave. The process for this will vary depending on the model that you have, so make sure to consult your owner’s manual. You’ll want to ensure that the microwave is level and secure before completing the installation.
- Once the microwave is in place, the final step is to hook up the power cord. Again, this process will differ depending on your model, so check your owner’s manual. Once everything is hooked up and plugged in, you should be good to go!
Need Help With Over The Range Microwave Installation?
An over the range microwave is a small, but impactful part of making your kitchen space entirely yours. If you want to take things a step further and add more personality to your kitchen space, Kitchen and Bath by Zeus are here for you. Our range of kitchen remodeling services is designed to create a kitchen space that is perfect for the room that is considered the heart of your home. Reach out to us and give us a call at 404-602-2668 and find out what we can do for your home remodel today!


